...
- Log into the NocTel control panel.
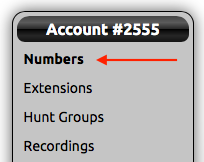
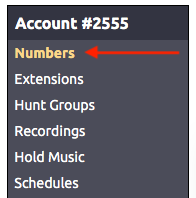
- Click on Numbers in the left-hand menu.
- Locate the number in the list or search for it using the pages provided search box, click on the number to open the Edit Number page
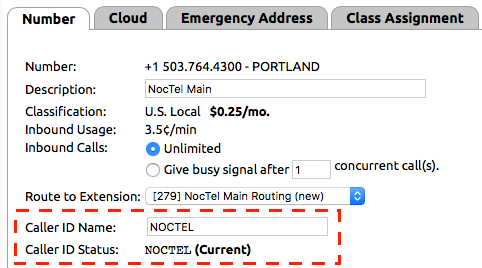
- The Edit Number page opens on the Number tab.
- The Caller ID Status, located towards the bottom of the page shows the number’s current configured Caller ID name and its status.
...
- Log into the NocTel control panel.
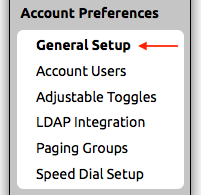
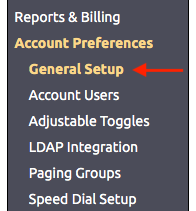
- Click Account Preferences in the left-hand menu to expand the section
- Click General Setup
- On the General Setup page click the Phone System tab.

- In the Location Settings use the dropdown list for Default Outbound caller ID to select a number that should be used for caller ID if another number is not selected for the extension.

- Click the Submit button to save the change.
...
- Log into the NocTel control panel.
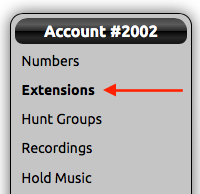
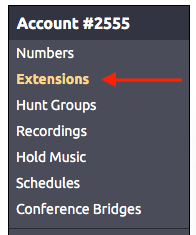
- Click on Extensions in the left-hand menu.
- Locate the extension in the list or search for it using the provided search box. Click on the extension to open its options page.
- Locate the widget for Caller ID, if the caller ID widget is not visible click the gear icon in the top right of the page to unhide the management options.
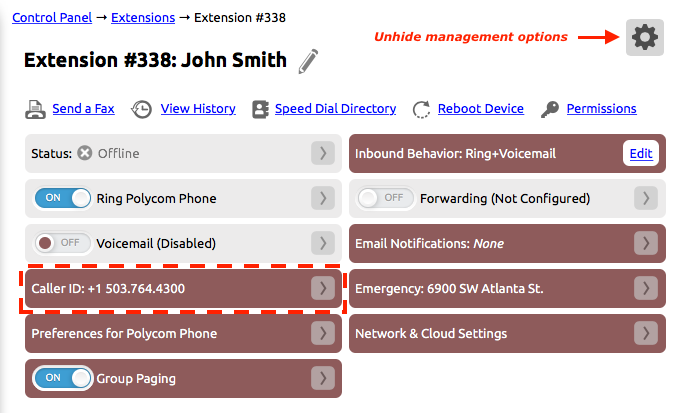
- Click > in the widget to expand it.

- From the list of numbers select the one that should be used for the extension’s outbound caller ID. Please note that if an extension has a DID that connects directly to it, this number does not have the be the number’s outbound caller Id number. The organization's primary number could be used instead.
- Click outside the widget to save the change and close the widget.
...