- Log into the NocTel control panel.
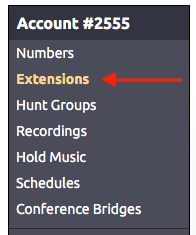
- Click on Extensions in the left-hand menu.
- Locate the extension in the list or search for it using the provided search box. Click on the extension to open its options page.
- Locate the widget for Caller ID, if the caller ID widget is not visible click the gear icon in the top right of the page to unhide the management options.
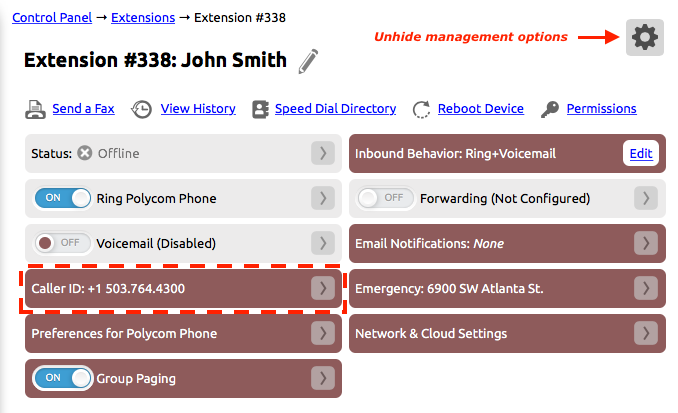
- Click > in the widget to expand it.

- From the list of numbers select the one that should be used for the extension’s outbound caller ID. Please note that if an extension has a DID that connects directly to it, this number does not have the be the number’s outbound caller Id number. The organization's primary number could be used instead.
- Click outside the widget to save the change and close the widget.
Assigning Caller IDs to Multiple Extensions Using the Bulk Operation Tool
Before using the bulk edit tool review the help article covering Bulk Operations Extensions to ensure understanding. Within the Bulk Operation Extensions article is a section covering making changes to Caller ID. If you are uncertain about using the bulk operation tool, please contact NocTel support at support@noctel.com or 503.764.4300 for help.
Related articles