Paging
Paging allows the user to make an announcement to phones in a predetermined group with one-way audio from the sending phone to all phones in the paging group.
Paging Vs Intercom
Paging differs from Intercom, which is two-way audio communication from one phone to another.
Please note the following:
- The paging group must be on the same VLAN
- IGMP snooping must be OFF on the switch.
Configuring Paging in the NocTel control panel
- Log in to the NocTel Control Panel
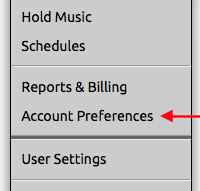
- Click “Account Preferences” to expand the section in the left-hand menu.
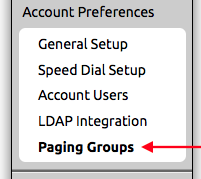
- Click “Paging Groups” in the expanded list.
- On the Paging Groups page click “Create a New Paging Group”

- Fill in the following information:
- Name of Group: Give the paging group a distinct name. This will be displayed to all phones when making a page.
- Group Status: Select Enabled to turn the paging group on.
- Quality: Select between high and low-quality audio. NocTel recommends that you leave this on high quality for best results, but low quality is available in the event you run into compatibility issue with older equipment.
- Maximum Paging Length: Default maximum length is 5 minutes. Adjust this setting to fit the account and paging groups attended use. Select from 1 minute, 2 minutes, 5 minutes, 15 minutes, or one hour.
- Polycom Group: This is the group number that the Polycom phone will recognize the paging group by. There are 24 normal paging groups (numbered 1 – 24) and one emergency paging group (number 25). Paging group 25 will always page, even if the phone is in a call.
- Multicast IP: NocTel Recommends not changing this setting.
- Multicast Port: NocTel Recommends not changing this setting.
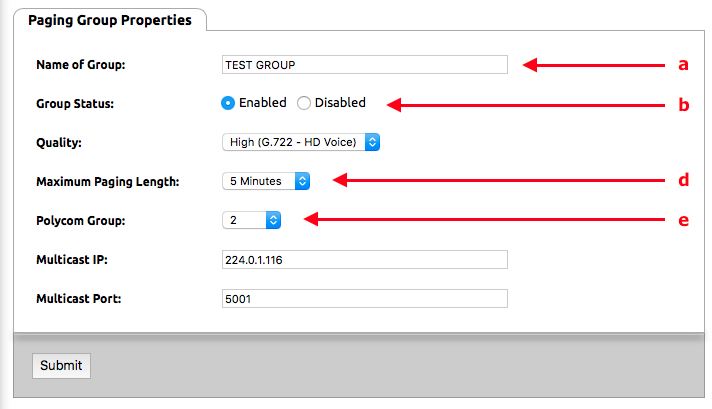
- Click Submit.
Adding a Extension to a Paging Group
Once a paging group has been enabled in the Account Preferences section of the control panel, you must set up each extension that will be part of the paging group.
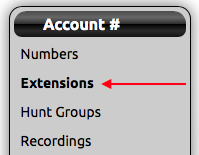
- Click Extensions in the left-hand menu.
- Select an extension to add to a paging group.
- Locate the section titled Group Paging. (If you do not see this section click the gear icon to unhide the option.)

- Click > to expand the group paging section.
- In the expanded section, click Receive and/or Transmit next to the groups that the extension should be a part of. Receive means that this phone will receive pages for that group. Transmit means that the phone can initiate paging to that group.
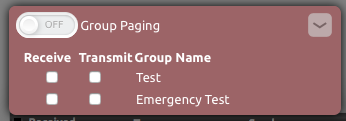
- Click the ON/OFF toggle button at the top of the section to enable paging for the extension.
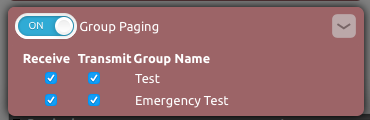
- Click outside the Group Paging section to save.
Using the Paging Feature
- Press the Paging soft key on the main screen.
- Select a paging group from the list and press the Page soft key.
- The page is now activated and you can speak.
- Press End Page to hang up.
Printable Version - Paging with Polycom Phones.pdf
Related articles