For organizations with existing legacy paging and intercom systems, NocTel recommends the use of the Obihai OBI110 FXO VoIP adapter to integrate with NocTel VoIP service. Since most legacy systems are integrated with a POTS system that NocTel replaces, it then becomes necessary to either maintain lines to the paging/intercom system or integrate it with NocTel. This article will provide guidance on how to config the Obihai OBI110.
The Obihai OBI110 is a very simple FXO VoIP peripheral that consists of one ethernet, Phone, and Line port each, though for organizations spanning multiple buildings and sites it proves very cost effective. While this article does not provide configuration of more advanced OBI models, the same general configuration should be consistent though the placement and potentially naming of certain properties in configuration may not align fully in relation to the OBI110.
What the Obihai OBI110 Is, What It Does, and Why
Until recently, NocTel recommended the use of Cisco SPA line VoIP adapters for integrating legacy paging and intercom systems. However, some of the most cost effective models are approaching end of life and will not have manufacturer support for issues. This also means eventually production is likely to cease making procurement of the devices harder and more expensive. To remedy this, NocTel evaluated and successfully integrated the Obihai OBI110 FXO VoIP adapter for the same purpose with a lower price per unit (for the OBI110 model).
Whereas comparable devices by other manufacturers as well as Obihai itself may include additional ports for LAN, Phone, and Line; the OBI110 is very simple. This makes configuration fairly simple and purchasing multiple devices for multiple locations more affordable.
Similar to the FMA device NocTel uses, the OBI110 - an FXO VoIP adapter peripheral - receives calls from NocTel VoIP handsets to then call into the connected legacy intercom/paging system on its Line port. At this high level view of the integration, all that is modified is how the paging/intercom system is reached - no modification of wiring, dial codes, etc. occurs. Formerly, the intercom/paging system would be integrated with a POTS or similar phone system and various vendors like NEC have models of phones that feature an intercom button that calls directly into the intercom/paging system. This is the same idea with using the OBI110 for VoIP integration. The following should be the only differences reaching and operating your legacy intercom/paging system after successful installation and configuration of the OBI110 or similar device:
- The intercom/paging system is reached by dialing an extension number just like any other NocTel handset deployed in the organization
- There will no longer be a need to dial a # or similar key to reach the intercom/paging system from a NocTel handset
- There will be a distinctly different dial tone when the intercom/paging system is successfully reached by the OBI110 - at this distinct dial tone is where you would enter valid intercom/paging dial codes (e.g.: 010# for all call)
Note: The Obihai OBI110 or similar model FXO VoIP adapter does not modify any existing paging/intercom codes. The device acts as a means of calling into the existing paging/intercom system through a VoIP handset allowing the use of a simple extension number, which will usually differ from a legacy sequence. If you are uncertain of what valid paging/intercom codes there are for your existing system, please locate and verify documentation. If the operation codes cannot be ascertained, please reach out to your system's vendor for assistance.
Pre-Configuration
Before the OBI110 can be configured for deployment, it must first be added as a generic SIP device extension in your NocTel account:
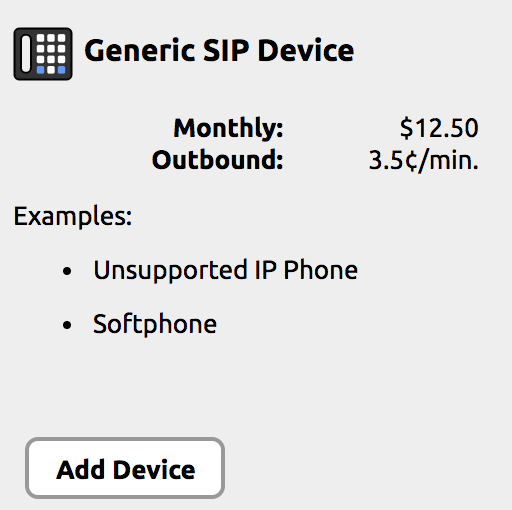
1.) As a user with the appropriate privileges to add extensions, this is under Extensions -> Add a New Extension -> Generic SIP Device.
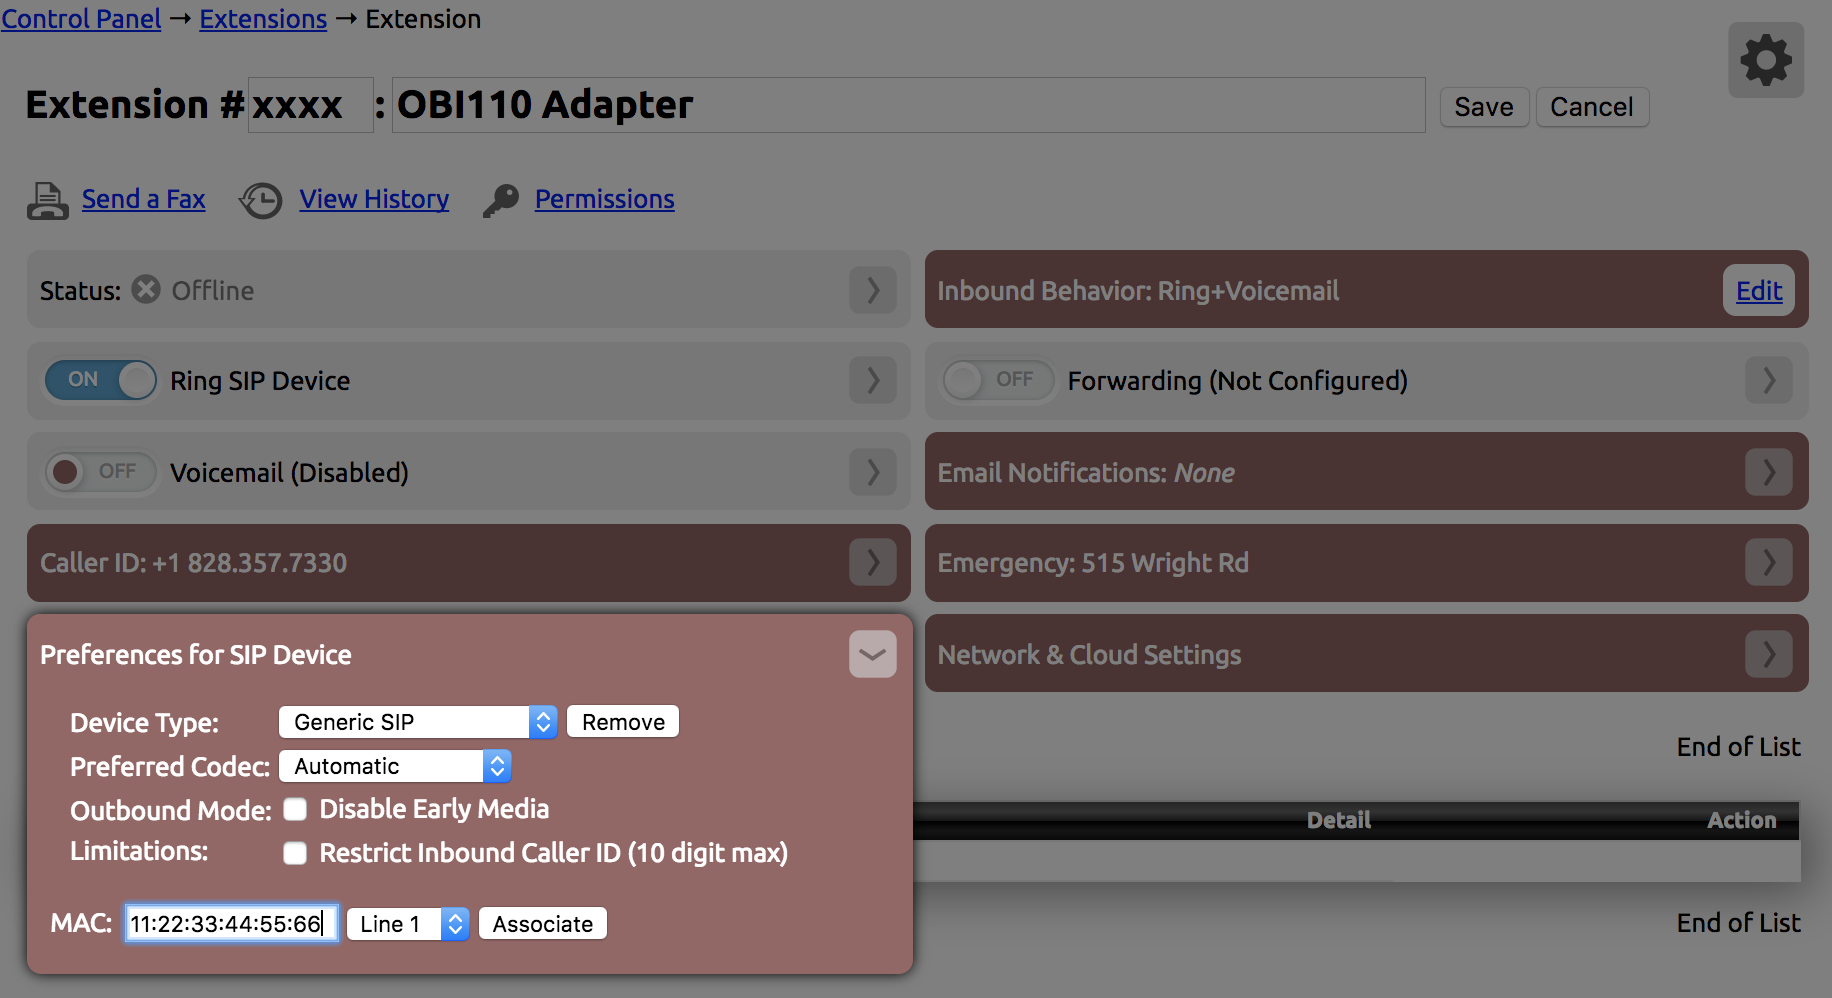
2.) Give the OBI110 Generic SIP Device extension an extension number that's in line with the rest of the organization/site of deployment. For example, if the location the OBI110 is being deployed at has an extension number range of 2000 to 2200, try to place the OBI110 in one extreme end or the other (e.g.: ext 2200, ext 2000). This is a general good practice to put administrative or non-staff extensions in a separate sub-range so staff do not accidentally call them. Also give the OBI110 extension a name.
Like a normal Polycom handset, you need to also specify the OBI110's MAC Address, which is located on a label attached to the base of the device. The Network & Cloud Settings should be configured identically to normal extensions in the account or extension number range of the same location the OBI110 will be deployed at.
3.) After making the above configuration to the OBI110's extension, scroll to the bottom of the extension's page and locate its VoIP server addres, SIP username, and SIP password. Keep this window open or copy these fields' values to a text editor.
An example of these properties can be found to the right:
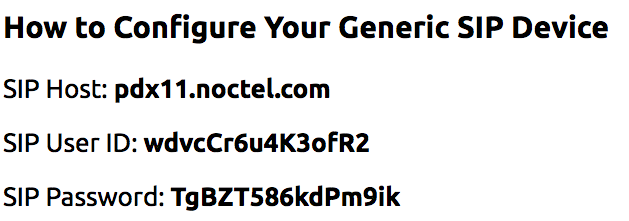
Note: If you modify the configured VoIP servers for the generic SIP extension it will recreate the SIP username and password. For this reason, it's highly recommended you configure the VoIP server(s) properly prior to the third step or the SIP user/pass taken may be invalid. If the configured VoIP servers for the OBI110 change for any reason, be sure to grab the updated credentials and add them to the OBI110's own configuration that follows this section.
OBI110 Configuration
This section presumes the OBI110 is new out of box and never accessed or configured. Out of box, the OBI110 will default to DHCP to obtain an IP address so may be necessary to leverage network appliances to discover what IP address the device has been assigned. This is typically done by accessing the switch port the OBI110 was connected into on its ethernet port or querying a firewall or switch for the IP address of the device with the OBI110's MAC Address.
Once the IP address of the OBI110 is ascertained, access it through a web browser. Out of box, the OBI110 credentials will be admin/admin - please change these to suit your organization's device security policies. If these are lost do note that a hard reset of the OBI110 will revert the credentials back to their defaults.
After logging into the OBI110, the following properties should be modified as noted:
Important: Take note that whenever a property is modified and saved in the OBI110 configuration it will require a reboot to apply. It's recommended that after any changes are saved in configuration that the OBI110 be rebooted. The process only takes 20-25 seconds before the OBI110 is operational again.
1.) Download the configuration file - this contains all the known stable generic settings. Downloading and restoring the OBI110 config from this file will minimize the amount of end user configuration performed.
2.)
Related articles
Related issues