Use the following guide to replace the physical Polycom device associated with a Polycom extension in an account.
Step-by-step guide
- Log in to the NocTel control panel.
- Click Extensions on the main left-side menu. On the new page search for or pick from the list the desired extension.
- Click on the extension in the list to open its options page.
- Locate the Preference for Polycom Phone widget on the page and click the arrow (>) to expained the section. If you do not see the widget click the gear icon on the top right of the page.

At the bottom of the Preference for Polycom Phone widget click the Disassociate button to disconnect the physical device from the extension.
Important Note - Speed Dials
If the extension is using speed dials, the control panel will ask you to confirm the action as the speed dials will be removed once the physical device is disassociated. Speed dials are linked to the physical device and not the extension. If you are not using account-level speed dial setup located under account preferences you will need to reconfigure the speed dial for the extension in the control panel once the new device is connected.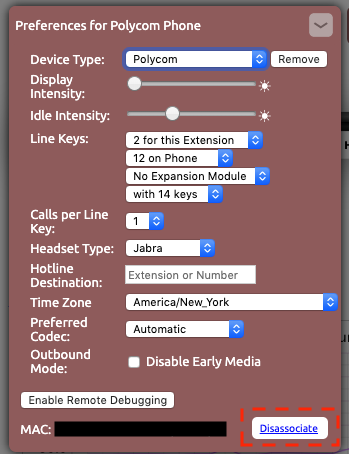
- Locate the MAC address of the new Polycom device you want to associate with the extension. The MAC address is a 12 character alpha-numerical code, that is listed on the back of the Polycom phone near a barcode.
- Click the arrow (>) to explained the Preference for Polycom Phone widget again.
- Enter the MAC address in the space provided with no space or delineation marks.
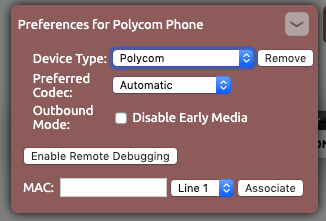
Click Associate.
Provisioning the new device using NocTel's Polycom Provisioning guide. Once provisioned the device will connect to NocTel as the extension.
Related articles